Ever been interested in space and the night sky? Well, these steps will start you off on a great adventure.
Steps -
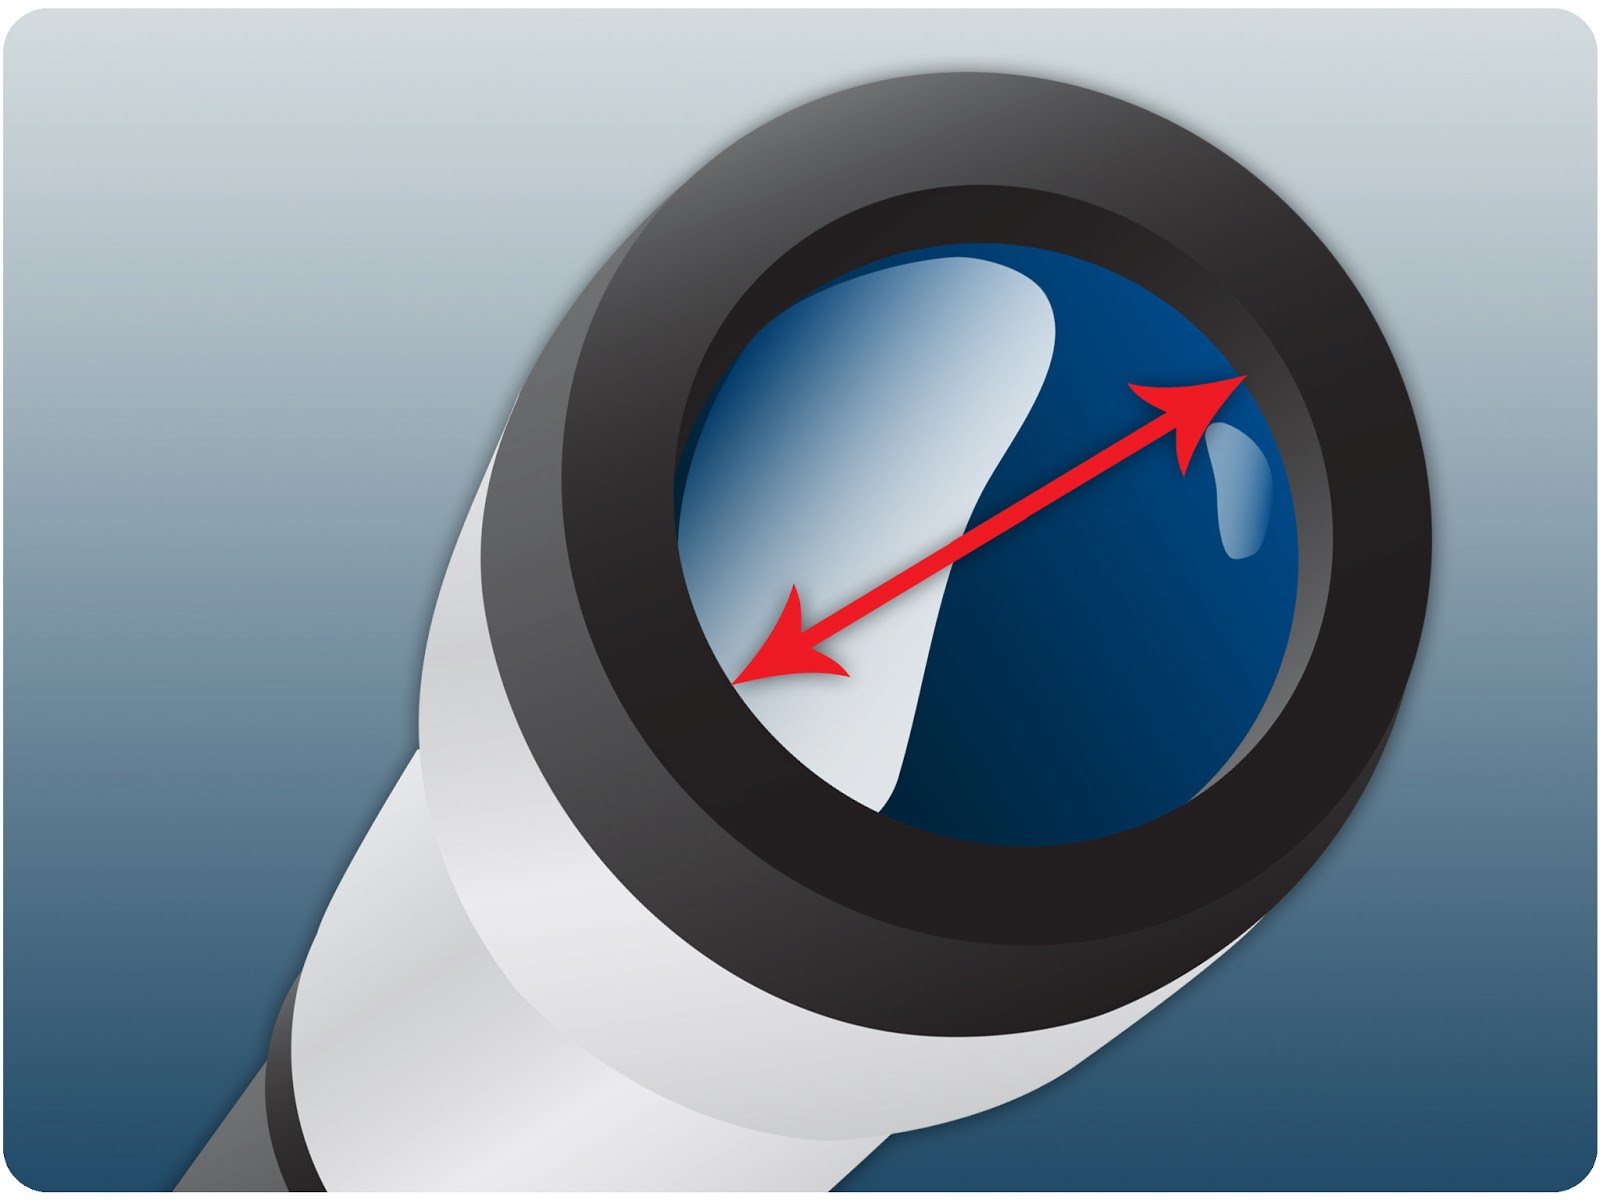
- The diameter of the objective lens or mirror is the most important number describing a telescope. Larger diameter lenses or mirrors allow higher resolution (ability to separate closely spaced objects) and will gather more light from faint astronomical objects. They also cost more. A good size for a first telescope is roughly four inches (100mm). Bigger tends to be considerably more expensive and more inconvenient. Bigger works better, of course, though not shockingly so.
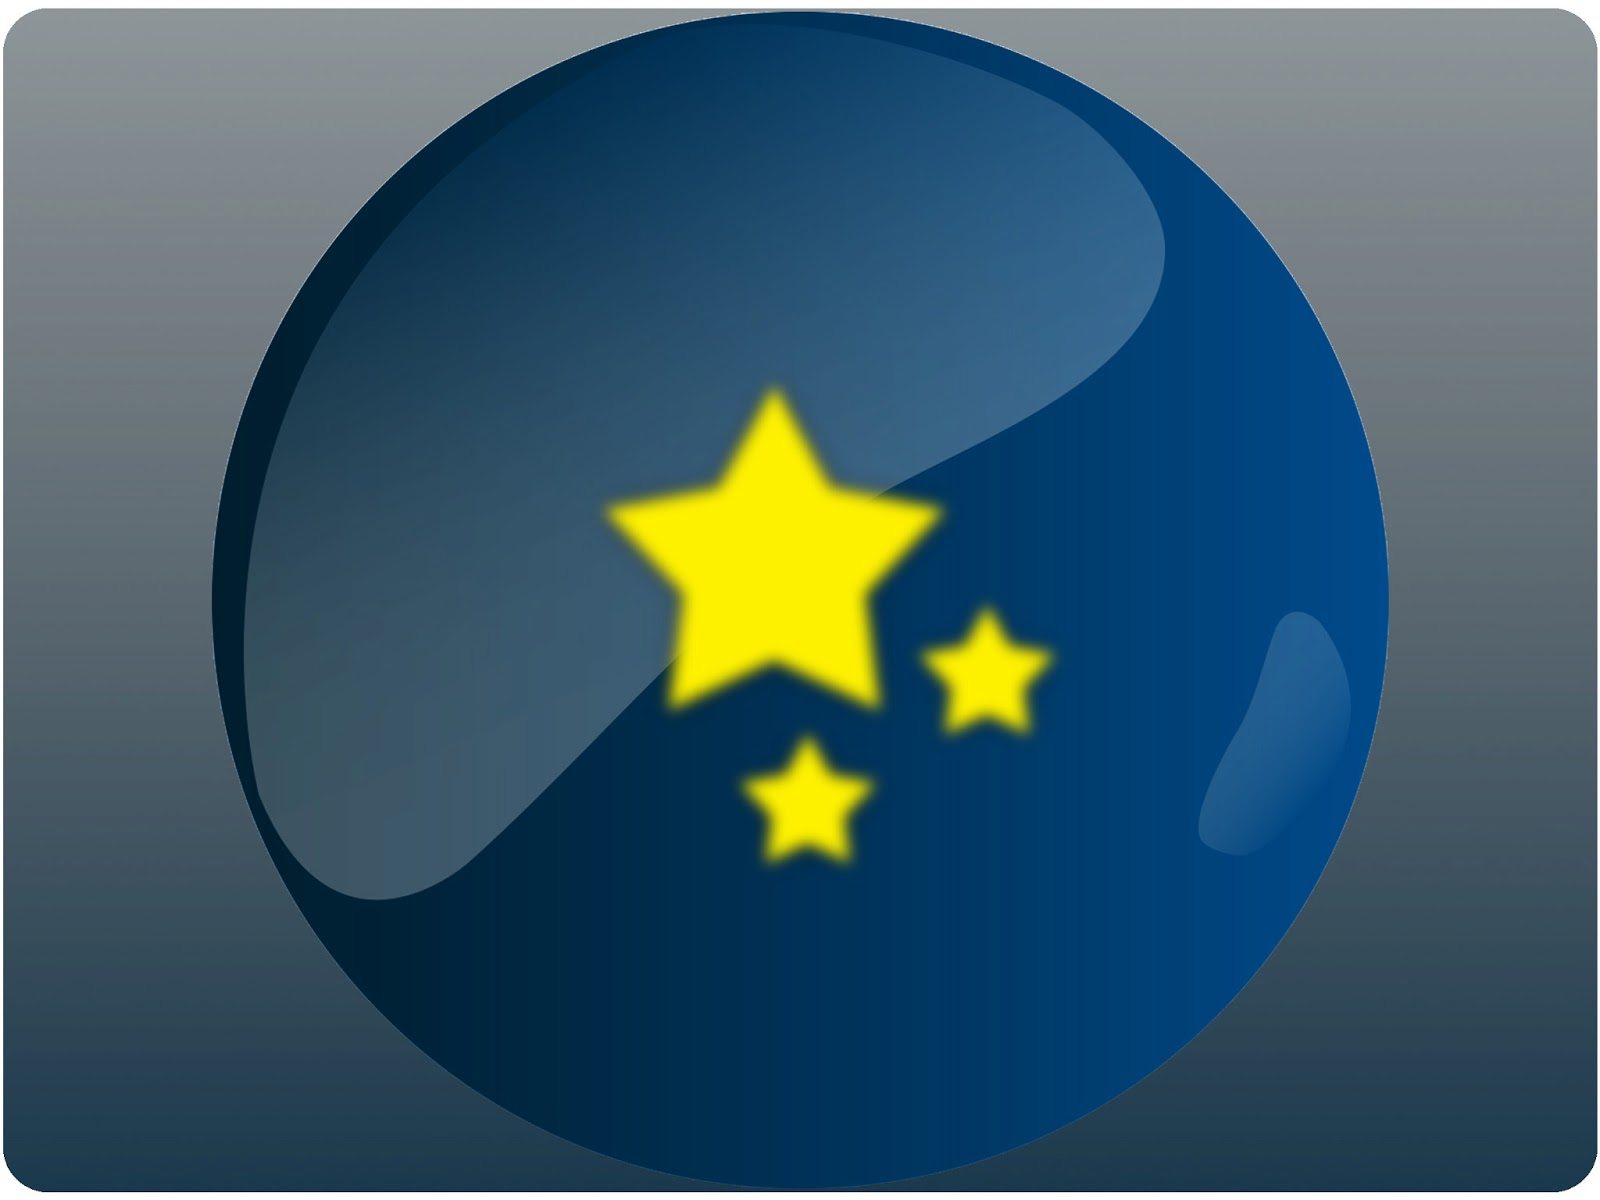
2. Magnification is relatively unimportant and is often hyped in advertising claims for inexpensive telescopes. In astronomy, the purpose of a telescope is mostly to collect light from faint objects, not to magnify them. Most visual observing is done between 50 and 200 power.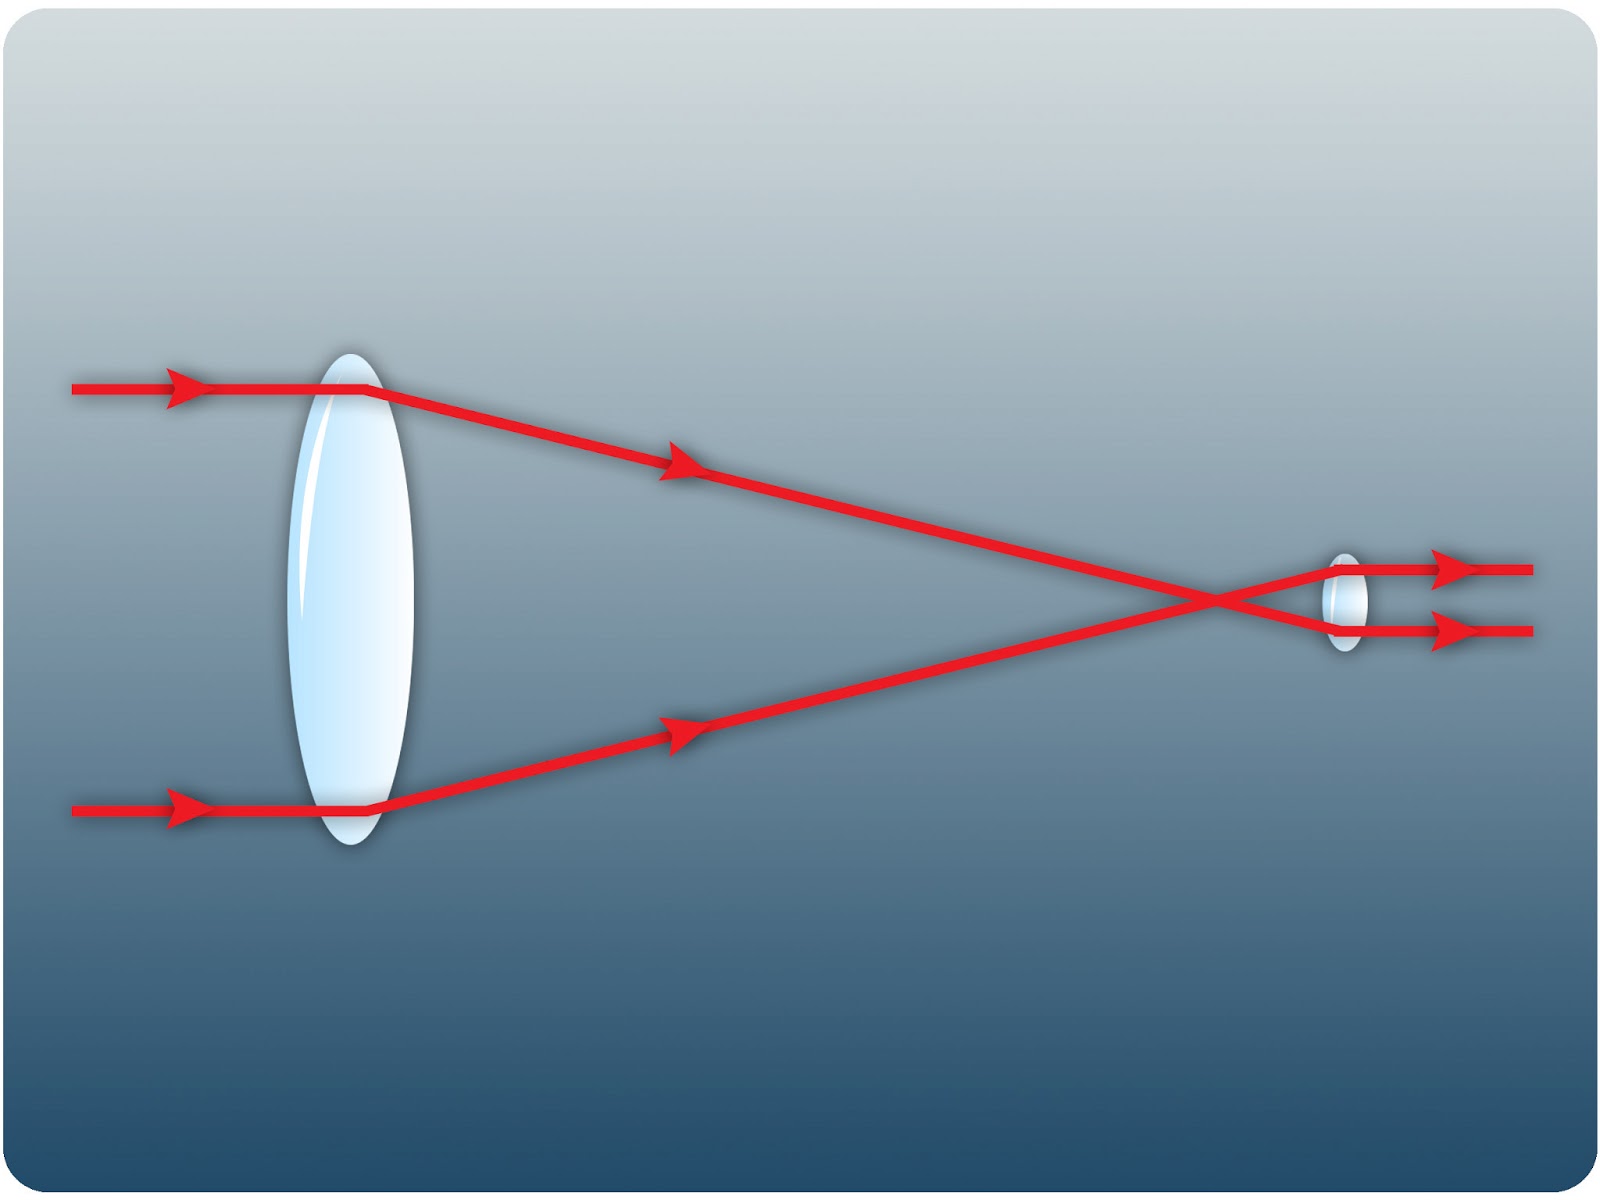 3. Too much magnification just gives you a useless blur. A good rule of thumb to determine the maximum usable magnification is to multiply the diameter of the objective in millimeters by 2.5 (which means that the typical department store 60mm scope is only usable to 150x). In actual practice, on nights of extremely unusual atmospheric stability, you -may- be able to use a somewhat higher power, but don't count on it.
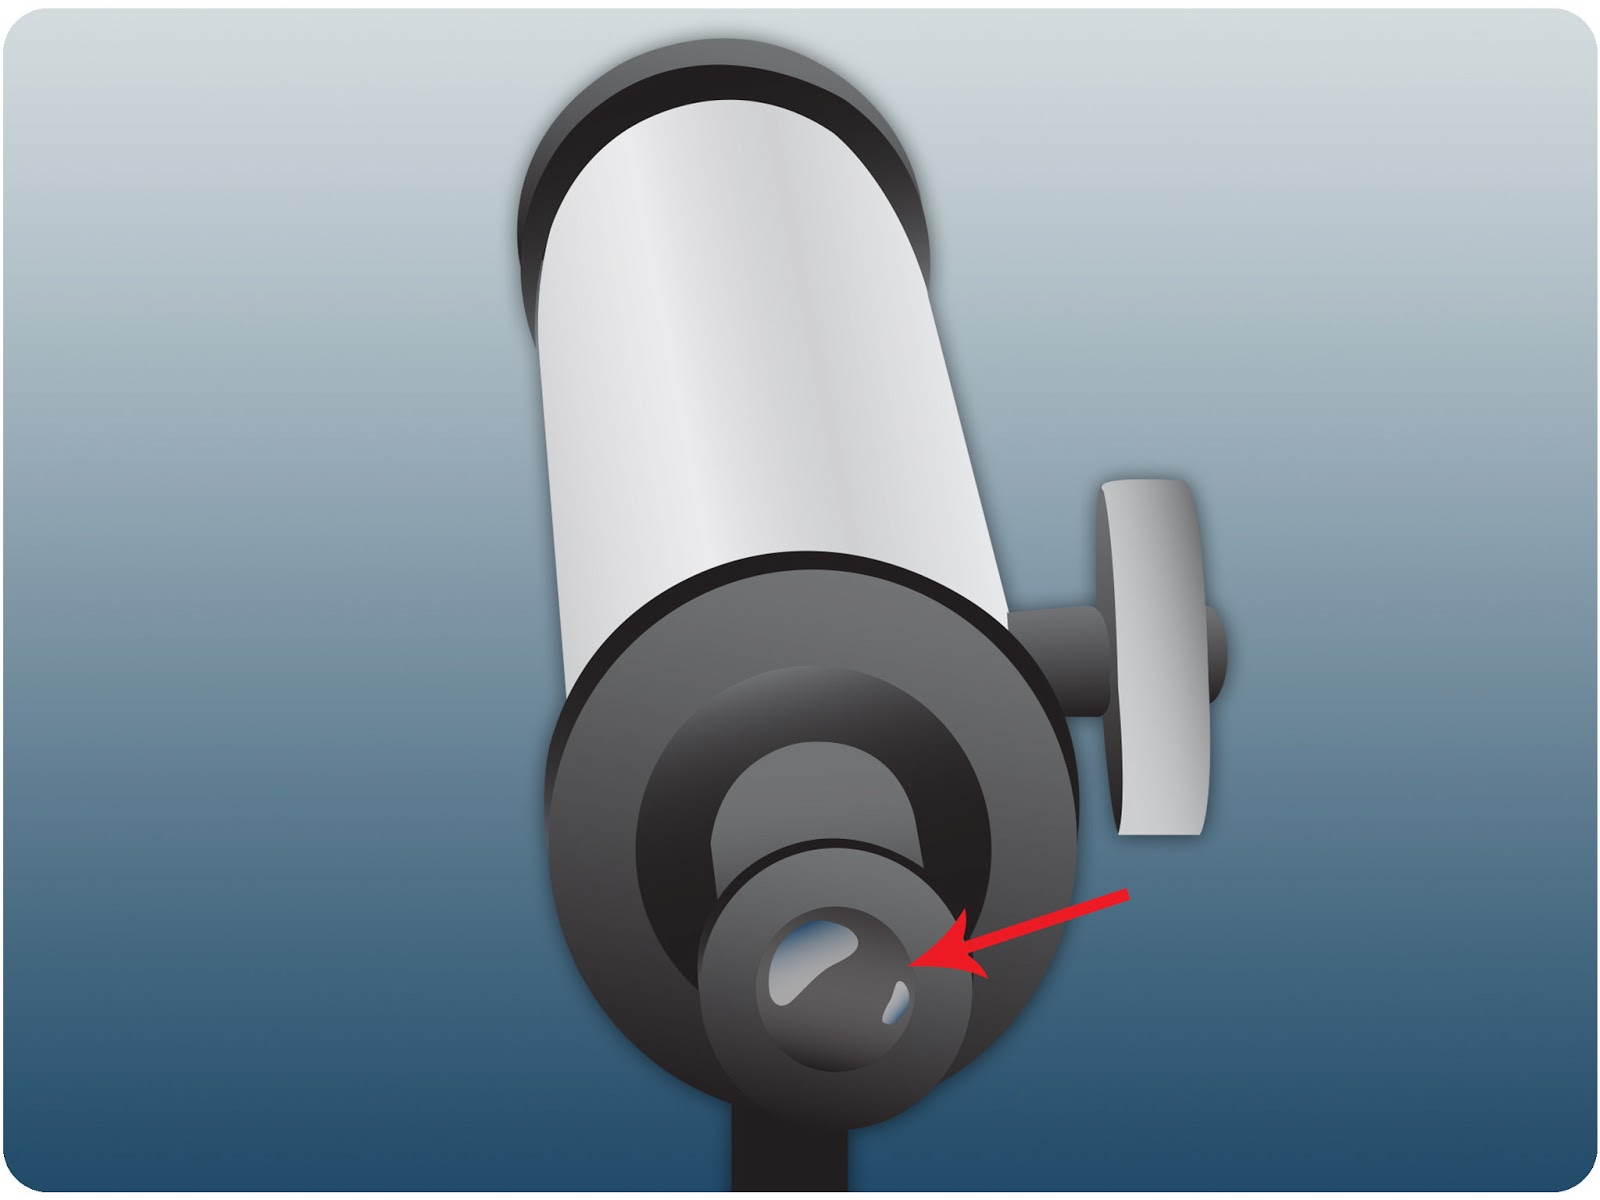
4. The better eyepieces have larger "eye relief," which represents how close you have to get your eye to the eyepiece to observer clearly. If the eye relief is too small you will have to bring your eye very close to the eyepiece, and it will be all but impossible to observe for more than a few seconds at a time.
5. Look for a steady mounting, an unstable or shaky mounting will ruin your observing experience. In general, the more massive the mount looks, the better it performs. When in doubt, spend more on a mount.
6. Join an astronomy club and learn to use someone else's telescope before buying your own.
7. Start with a pair of binoculars and learn to find things in the sky before buying a telescope. (Or, if you just want to see pretty objects, get a GoTo mount.)

8. Don't expect a small telescope to show the same images that you see in astronomy textbooks, which are usually long time exposures and may have been taken by much larger professional grade telescopes. No telescope practical for most individuals to own will show significant color in nebulae to the naked eye, although bigger ones will show shape well, and many can reveal color through time-exposure photographs.


